Blacklist
Use Blacklist to disable Fluent in specific apps.
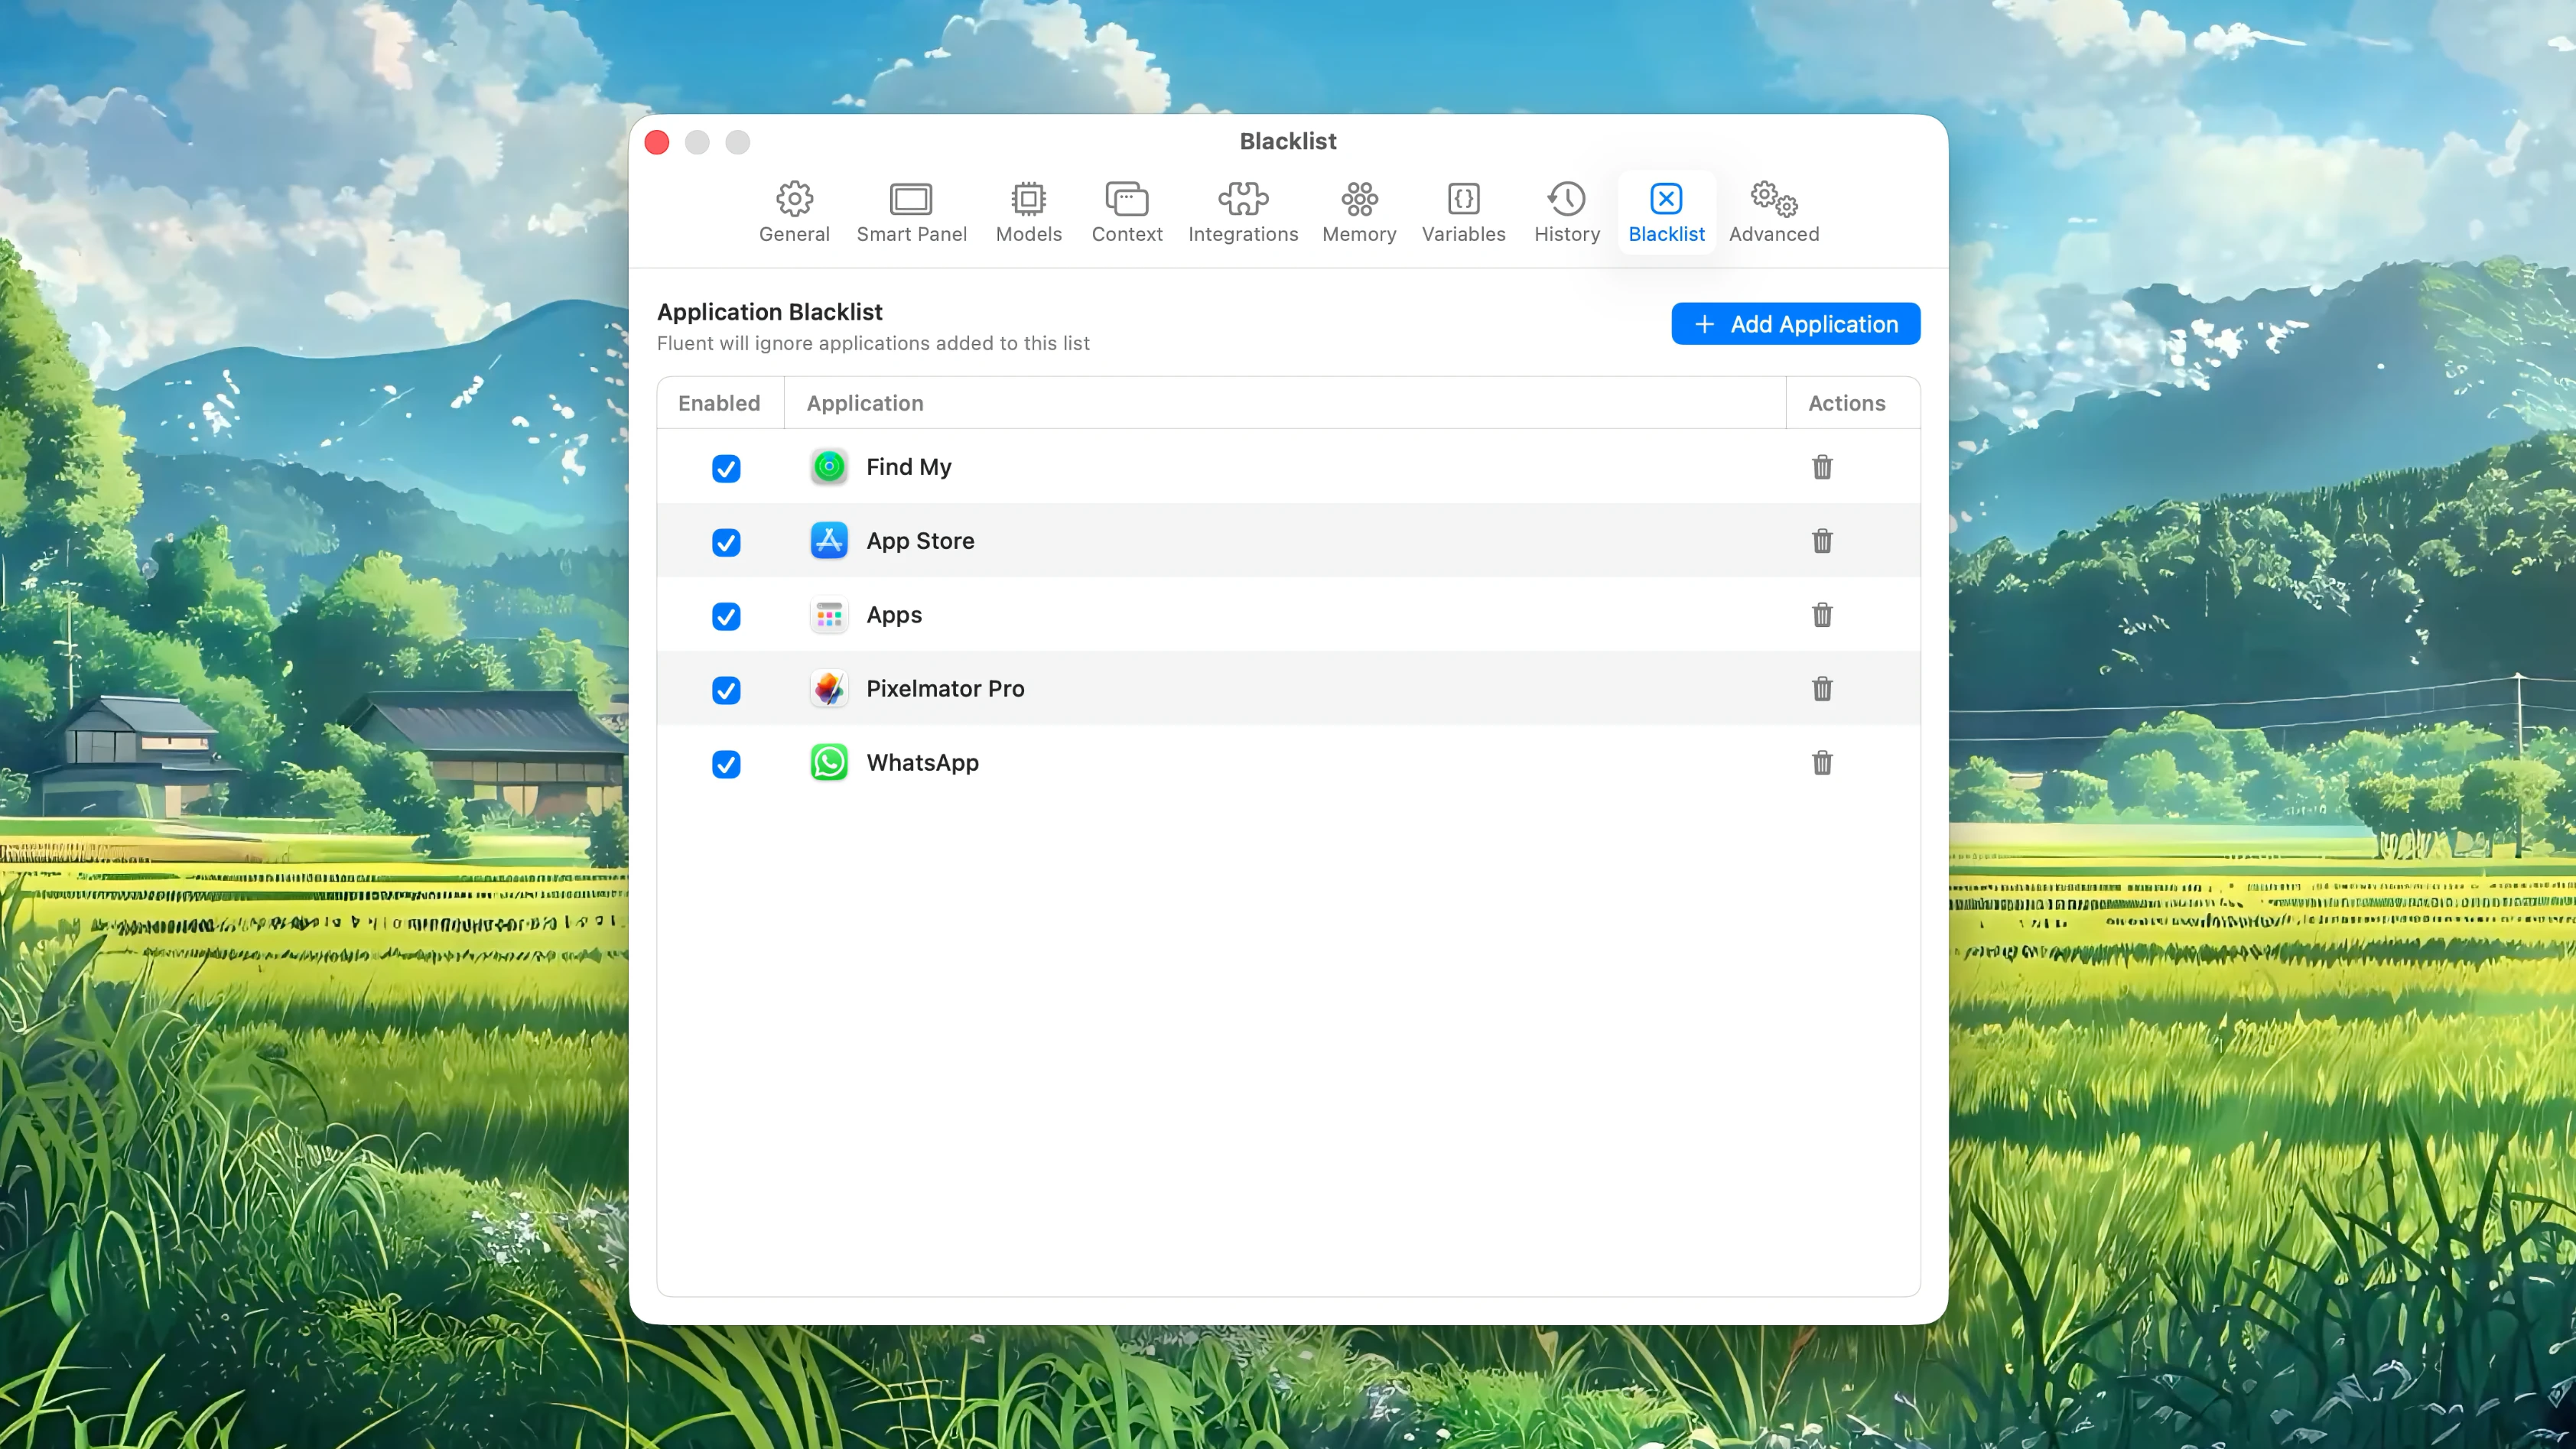
When an app is blacklisted and enabled, Fluent ignores it while that app is frontmost. This prevents the Smart Panel, text selection handling, and related Fluent behavior from activating there.
Why
Blacklist is useful for apps where Fluent should stay completely inactive.
Typical examples:
- Password managers
- Banking or finance apps
- Games and full-screen apps
- Presentation or screen-sharing situations
- Apps with heavy keyboard shortcut use
If an app should never be part of a Fluent workflow, add it here.
Add
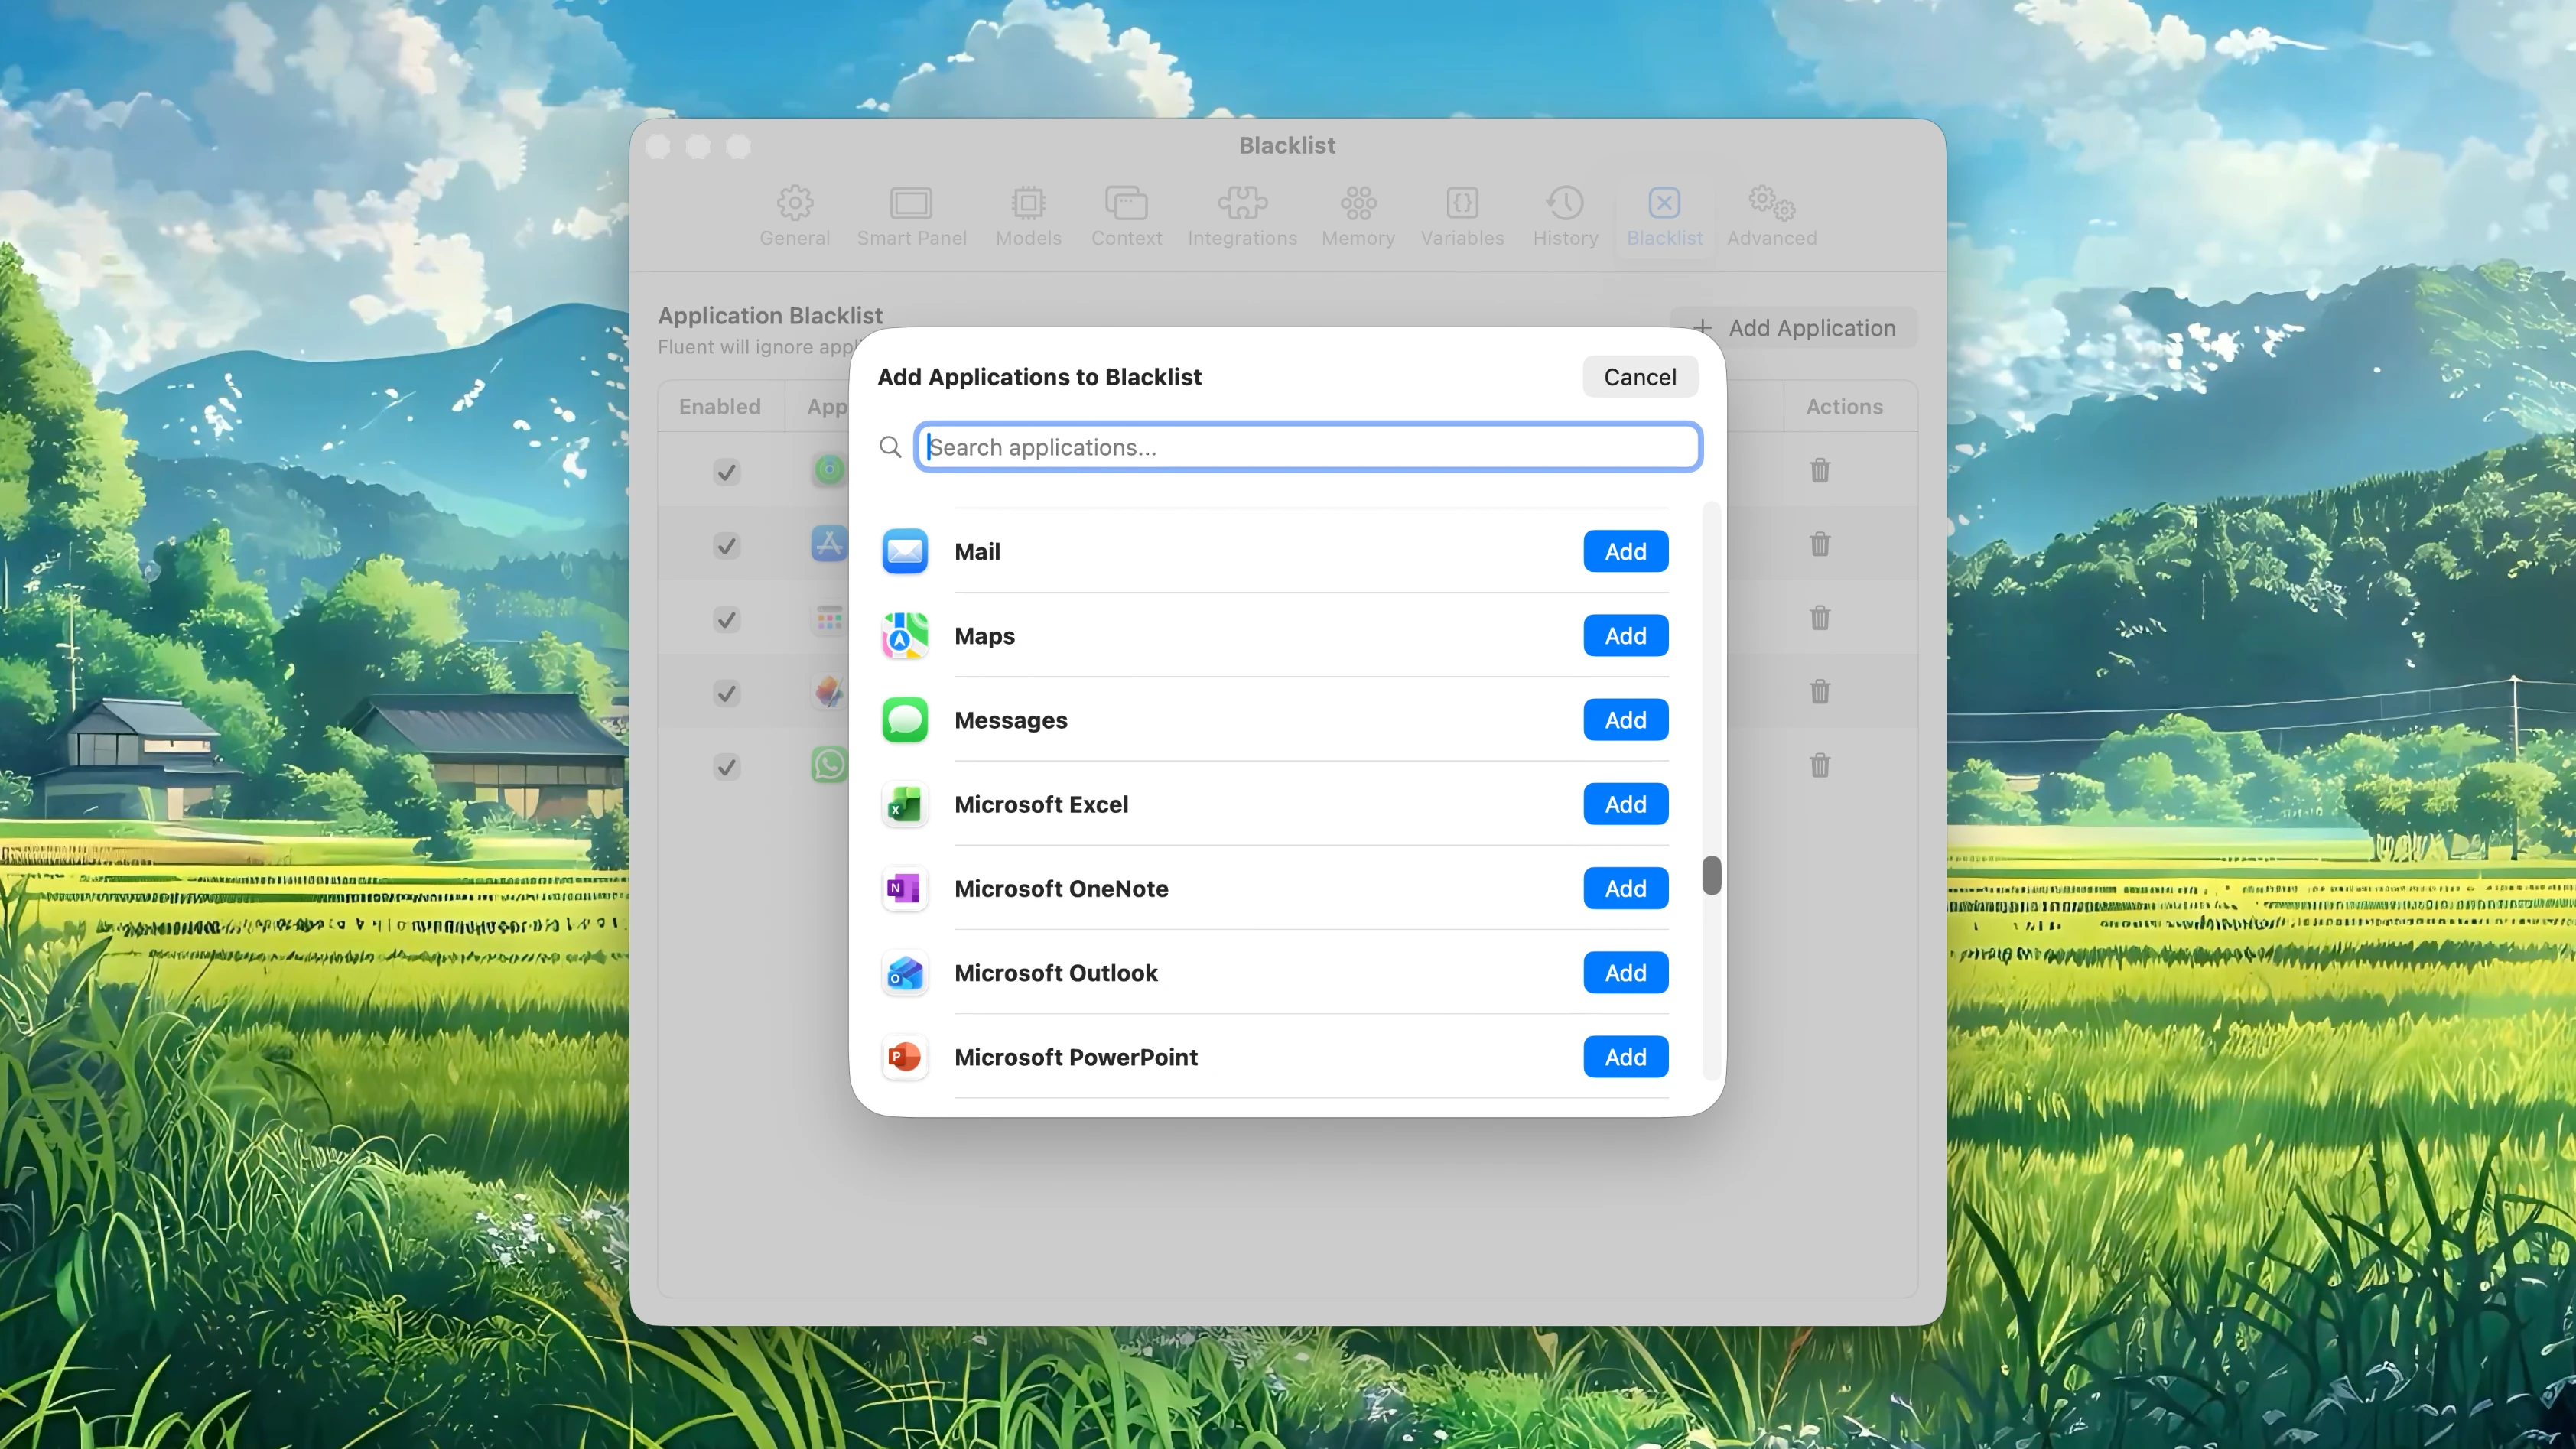
Open Settings → Blacklist and click Add Application.
Fluent shows a searchable list of installed apps. Select the app you want and add it. The app then appears in the blacklist table.
This is an app-level setting. You do not need to write rules or patterns.
Enable
Each blacklist entry has its own Enabled toggle.
Turn the entry off if you want to allow Fluent in that app again without removing the app from the list. Turn it back on later if needed.